
DIY PCB projects
Top 5 DIY Electronics Kits for Aspiring Circuit Designers
Mar
DIY PCB Kits: The Ultimate Guide to Building Your Own Circuit Boards
So, you’ve decided to dive into the world of DIY PCB kits? Great choice! Whether you’re a hobbyist, an aspiring electrical engineer, or just someone who thinks it’d be cool to build their own circuit boards, you’ve come to the right place. Creating your own PCB (Printed Circuit Board) is like assembling a LEGO set—except instead of building castles, you’re building the future! (Or at least a really cool blinking LED project.)
In this guide, we’ll cover everything you need to know about DIY PCB kits. From what they are, why you need one, and how to choose the best kit for your needs, we’ve got you covered. So, grab a coffee, sit back, and let’s get into it!
What is a DIY PCB Kit?
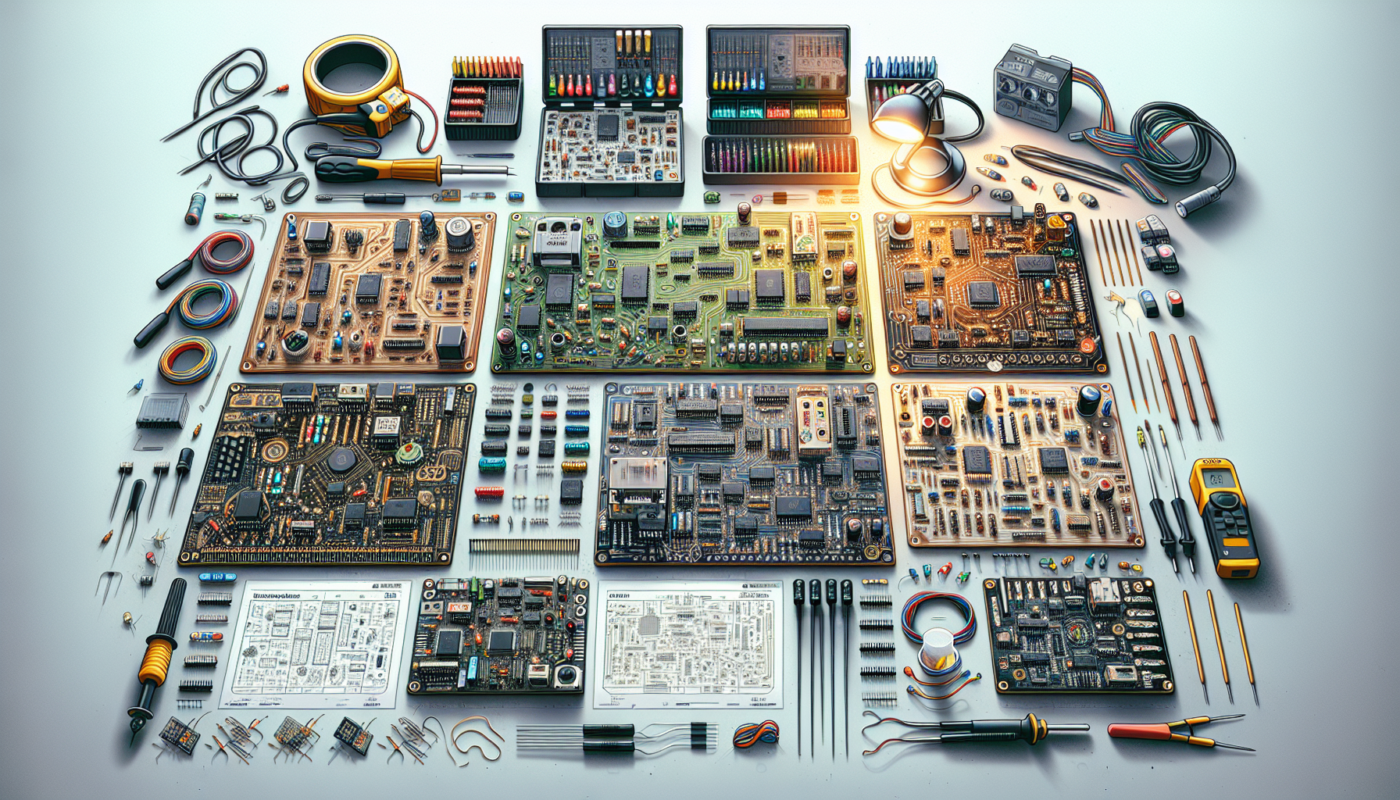
A DIY PCB kit is essentially a package that contains all the necessary materials and components to create your own circuit boards at home. These kits include a blank PCB board, electronic components (like resistors, capacitors, and ICs), soldering tools, and sometimes even a handy guide to help you along the way.
Instead of ordering custom-made PCBs from a manufacturer, a DIY PCB kit allows you to design and modify your circuit boards exactly how you want them. This is great for prototyping new electronic ideas, learning electronics, or just having fun with science!
Why Use a DIY PCB Kit?
- Affordability: Ordering custom PCBs can be expensive, especially for small projects. DIY kits are a budget-friendly alternative.
- Hands-On Learning: Nothing beats practical experience. These kits give you a firsthand understanding of how PCBs work.
- Customization: Want a board with extra LEDs? No problem! DIY kits give you complete control over design and functionality.
- Faster Prototyping: If you’re working on an invention or electronic experiment, DIY PCB kits speed up the prototyping process.
- It’s Fun! Honestly, there’s something incredibly satisfying about assembling your own electronics and seeing them work.
What Comes in a DIY PCB Kit?
DIY PCB kits can vary in contents depending on where you buy them, but most will include:
- PCB Board: The foundation of your circuit. Some kits come with pre-designed boards, while others let you etch your own.
- Resistors and Capacitors: Essential components that help regulate voltage and current.
- Diodes and LEDs: Because nothing makes a project cooler than blinking lights.
- ICs (Integrated Circuits): Miniature brains for your circuit.
- Soldering Materials: A soldering iron, solder wire, and maybe even flux to help hold your components together.
- Connecting Wires: Because without these, your circuit’s just a bunch of lonely components.
- Instructions: A step-by-step guide to make sure you don’t accidentally create a time machine (or, more realistically, a non-functional circuit).
How to Choose the Best DIY PCB Kit
With so many options available, choosing the right kit might seem overwhelming. Here’s a handy checklist to help you out:
1. Skill Level
If you’re a beginner, get a kit with a clear instruction manual and pre-designed PCB strips to make things easier. If you’re more advanced, you might prefer a kit that allows you to design and etch your own boards.
2. Type of Project
Are you building a basic LED blinking circuit, or do you want to install an advanced microcontroller? Choose a kit that matches your project requirements.
3. Component Quality
Some kits come with cheaper components that might not last long. Read reviews or ask around in DIY electronics forums to ensure you’re getting quality parts.
4. Cost
Prices range from $10 to over $100, depending on what’s included. If it’s your first time, start with an affordable kit and upgrade as needed.
How to Get Started with Your DIY PCB Kit
Alright, now that you’ve got your kit, it’s time to bring your circuit board to life! Follow these steps:
Step 1: Read the Instructions
Yes, we know, instructions aren’t the most exciting thing to read. But trust us, they’ll save you from confusion later. Make sure you understand the wiring diagram before you start soldering.
Step 2: Organize Your Components
Lay everything out neatly on your workspace. This makes it easier to find what you need and prevents tiny resistors from mysteriously disappearing.
Step 3: Start Soldering
Attach the components to the PCB using your soldering iron. Be careful not to use too much solder! (Unless you enjoy unintentional fireworks.)
Step 4: Test Your Circuit
Once everything is soldered in place, connect the power and test it. If it works, congrats! If not, don’t panic—troubleshooting is part of the fun.
Step 5: Troubleshoot If Needed
If your circuit isn’t working, double-check connections, look for short circuits, and ensure all components are correctly placed. Sometimes, a tiny mistake can make a big difference.
Common Mistakes to Avoid with DIY PCB Kits
Even experienced hobbyists make mistakes. Here are some common ones to watch out for:
- Overheating Components: Soldering too long can damage sensitive parts.
- Poor Solder Joints: Too little solder means weak connections; too much means messy blobs.
- Skipping the Testing Phase: Always test as you go! Debugging at the end is much harder.
- Incorrect Component Placement: Some electronic components have polarity and must be placed in the right direction.
Final Thoughts: Should You Get a DIY PCB Kit?
If you love electronics and enjoy hands-on projects, the answer is a resounding YES! DIY PCB kits are a fantastic way to learn, experiment, and build your own circuits at a fraction of the cost of ordering custom PCBs. Plus, there’s nothing more satisfying than seeing your circuit light up (and knowing you built it yourself).
So go ahead, pick the right kit, fire up your soldering iron, and start creating. Who knows? You might just invent the next big thing—or at least a super cool gadget to impress your friends!
Got a favorite DIY PCB kit? Let us know in the comments below! Happy soldering!